|
Step 1: Install lower intake on engine, you must do this first so you have access to all of the
bolts.
Step 2: Install the intake gasket and put intake top plate on.
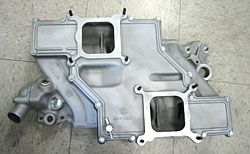
Step 3: Tighten all 16 bolts down, make sure they are all tightened down; once the Cross Ram
is completely together you will not be able to get at some of the bolts.
(see photo below)
Click image above for a larger view
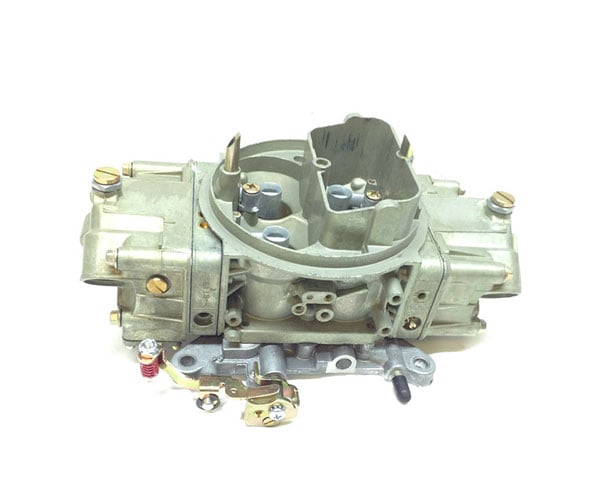
Step 4: Install the 8 carburetor studs on the top plate and place the 2 carburetor gaskets on
the intake.
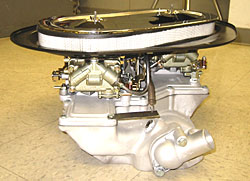
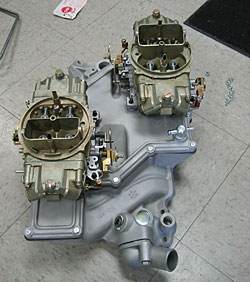
Step 5: Set the carburetors on intake make sure they are facing each other. Do not bolt down
them down yet, you will need to be able to move carburetors around to get the linkage
and fuel lines installed. (see photo below)
Click image above for a larger view
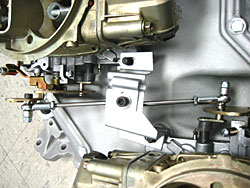
Step 6: Install the throttle linkage on front carburetor connecting it to the rear one, check for
wide open throttle and adjust accordingly. (see photo below)
Click image above for a larger view
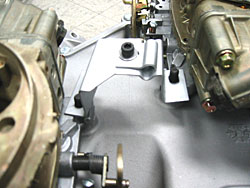
Step 7: Slip the throttle cable bracket over the studs in the center of the intake. Do not bolt it
down yet. (see photo below)
Click image above for a larger view
Step 8: Install fuel lines and fuel block. It is best to install block and fuel lines loosely, it can
take some work to get them all installed on the block and the carburetors.
(see photo below)
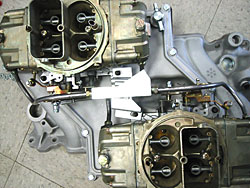
Click image above for a larger view
Step 9: Install return spring bracket on front of the intake. You will need to loosen and remove
one of the intake bolts to install the bracket. Make sure bracket is installed correctly
before installing the bolt back on to the intake. Install the spring and check for binding
on the fuel line. (see photo below)
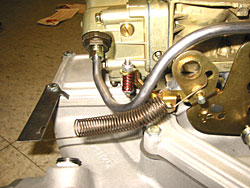
Click image above for a larger view
Step 10: You can finally install the 8 carburetor nuts on the on the intake. It can be tricky to
tighten the bolts by the throttle cable bracket. Make sure they are all tight.
Step 11: Now its time to check everything and make adjustments. If installed properly the
linkages and throttle arms should clear the fuel lines and block.
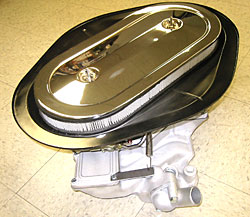
Step 12: Once everything is checked, install the air cleaner base, air filter and air cleaner lid.
(see photos below)
|


